Connect Leadboxer to Salesforce with Zapier
This guide continues where Getting started with LeadBoxer on Zapier left off.
Select Salesforce as the tool you want to be triggered by Leadboxer.

Choose ‘Find a lead’, this way you can make Zapier look through your existing Salesforce leads before adding a new one. It will update your lead if additional info is found and you can create a new lead if nothing is found in your Salesforce database.

Click ‘Connect a new account’, log in to your account and grant acces to Zapier.

Edit the options to your preferences. Select ‘Field to search by’ to be company and the search value ‘Most likely company’ (out of the Leadboxer Variables). This way the tool will check whether the company is already in your Salesforce or not.
After this fill in all the variables the way you would like them to be presented in Salesforce.
Note that Last Name is required, but Leadboxer does not always detect a name right away. To solve errors related to this problem, add an extra value to the template that is always found i.e. Company name. In the field of ‘first name’ you can add multiple variables, so you can also attach the value of last name to this field.
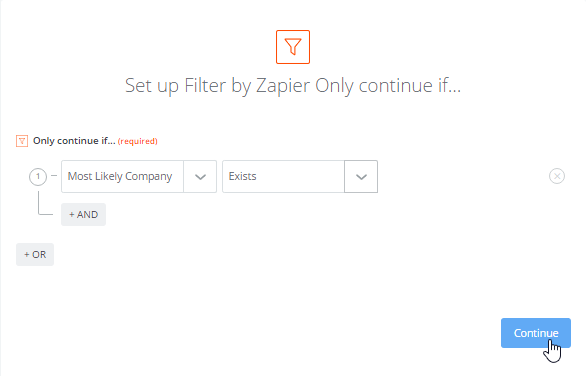
You might want to add a filter before turning on your Zap, this way you can make sure only leads with sufficient information fill up your Salesforce pipeline. Where to add a filter is shown below.

For instance, you can enable that only leads with a known company name get processed by the system.
Simply test the Zap by clicking Create & Continue. Congratulations! You have a working
Zap, all you have to do now is turn it on!
Still need help? Contact Us
Last updated on June 8, 2016
Last updated